You don’t have to spend a lot of money to build your own greenhouse. You can create a useful growing environment that protects your plants from cold snaps, extends your growing season, and keeps tropical species alive indoors for under $50 if you know where to source the materials.
All you need is some simple PVC pipe, clear plastic sheeting, and a weekend afternoon.
This post talks about two useful ways to build a greenhouse: a small interior PVC greenhouse that fits around an existing shelf and a full-sized outdoor hoop house greenhouse. Both are easy for beginners to use, don’t need any special tools, and can be taken apart and put away after the season is over.
Why Build Instead of Buy?
There are greenhouse kits that are already put together at every price point, but they all have pros and cons. Most cheap kits are small, weak, and set in size so that they won’t fit your exact garden bed or shelving unit plan.
You can change every dimension when you build your own, use materials you already have, and make it bigger or smaller as needed.
The price difference is also big. A commercial hoop greenhouse of the same size can cost $300 to $500 or more. A DIY version made with PVC pipe and greenhouse-grade plastic can cost less than $100, and often even less than $50 if you get the components from Craigslist, Facebook Marketplace, local ReStores, or Freecycle.
Project 1: Indoor PVC Shelf Greenhouse
This is the easier of the two builds. It’s perfect for tropical plants, bonsai trees, seedlings, or other container plants that can’t handle freezing temperatures. The idea is to make a custom PVC frame that fits tightly around a metal shelf unit that is already there. Then, cover it in thick, clear plastic to keep heat and moisture inside.
Materials Needed
- ½-inch PVC pipe (quantity depends on shelf size).
- PVC elbow connectors (4 for the base rectangle, plus additional T-connectors for uprights).
- 4-mil or 6-mil clear plastic sheeting (doubled up for better insulation).
- Zip ties.
- Shower curtain or extra plastic for the door.
- Grow lights (optional but recommended for indoor setups).
- Sticky mounting strips.
Estimated cost: $15–$35 for materials, depending on what you already have on hand. A basic metal shelving unit can be found for around $35, keeping the whole setup under $70 total.
Step-by-Step Instructions
Step 1: Measure your shelf. Take the base dimensions of your shelving unit and add about 2 inches on each side. This gives you the floor frame size and ensures the greenhouse wraps around the shelf rather than sitting flush against it.
Step 2: Build the floor mat frame. Cut the PVC pipe to your adjusted dimensions and connect the four corners with elbow pieces. No PVC cement is needed; a press-fit connection is fine for an indoor structure that won’t face wind or outdoor stress. This floor mat sits on the ground and serves as the anchor for the vertical frame.
Step 3: Build the vertical frame. Using T-connectors and additional pipe lengths, build uprights from each corner of the floor mat and connect them across the top. The height of your frame should be tall enough to clear your tallest plants and accommodate a grow light bar if needed. Test-fit the frame around your shelf before fully assembling it’s much easier to adjust before everything is connected.
Step 4: Wrap in plastic. Cut your plastic sheeting to size, leaving extra material to fold over the top and sides. Doubling up the plastic adds a layer of insulation. Leave one side open or loosely draped to serve as the door.
Step 5: Rig the door. A shower curtain works surprisingly well as a makeshift door. Hang it from the front of the frame so it drapes down and can be pushed aside for access. It’s not elegant, but it creates an effective seal.
Step 6: Add lighting. Build a simple lighting bar using a horizontal PVC crosspiece across the top interior of the frame. Attach grow light strips using zip ties and adhesive mounting strips. Position the lights so they illuminate the middle section of the shelves where plant foliage will be concentrated.
Tips for Better Results
- Seal the gaps. The biggest weakness of a homemade plastic enclosure is airflow through loose seams. Magnets, binder clips, or adhesive-backed Velcro strips along the edges can tighten the seal significantly.
- Monitor humidity. Trapped humidity is great for tropical plants, but can lead to mold or root rot if airflow is completely cut off. Open the curtain for 30–60 minutes a few times per week.
- Don’t glue the PVC. Keeping the frame unglued means you can break it down in spring and store it flat, then reassemble it next fall in minutes.
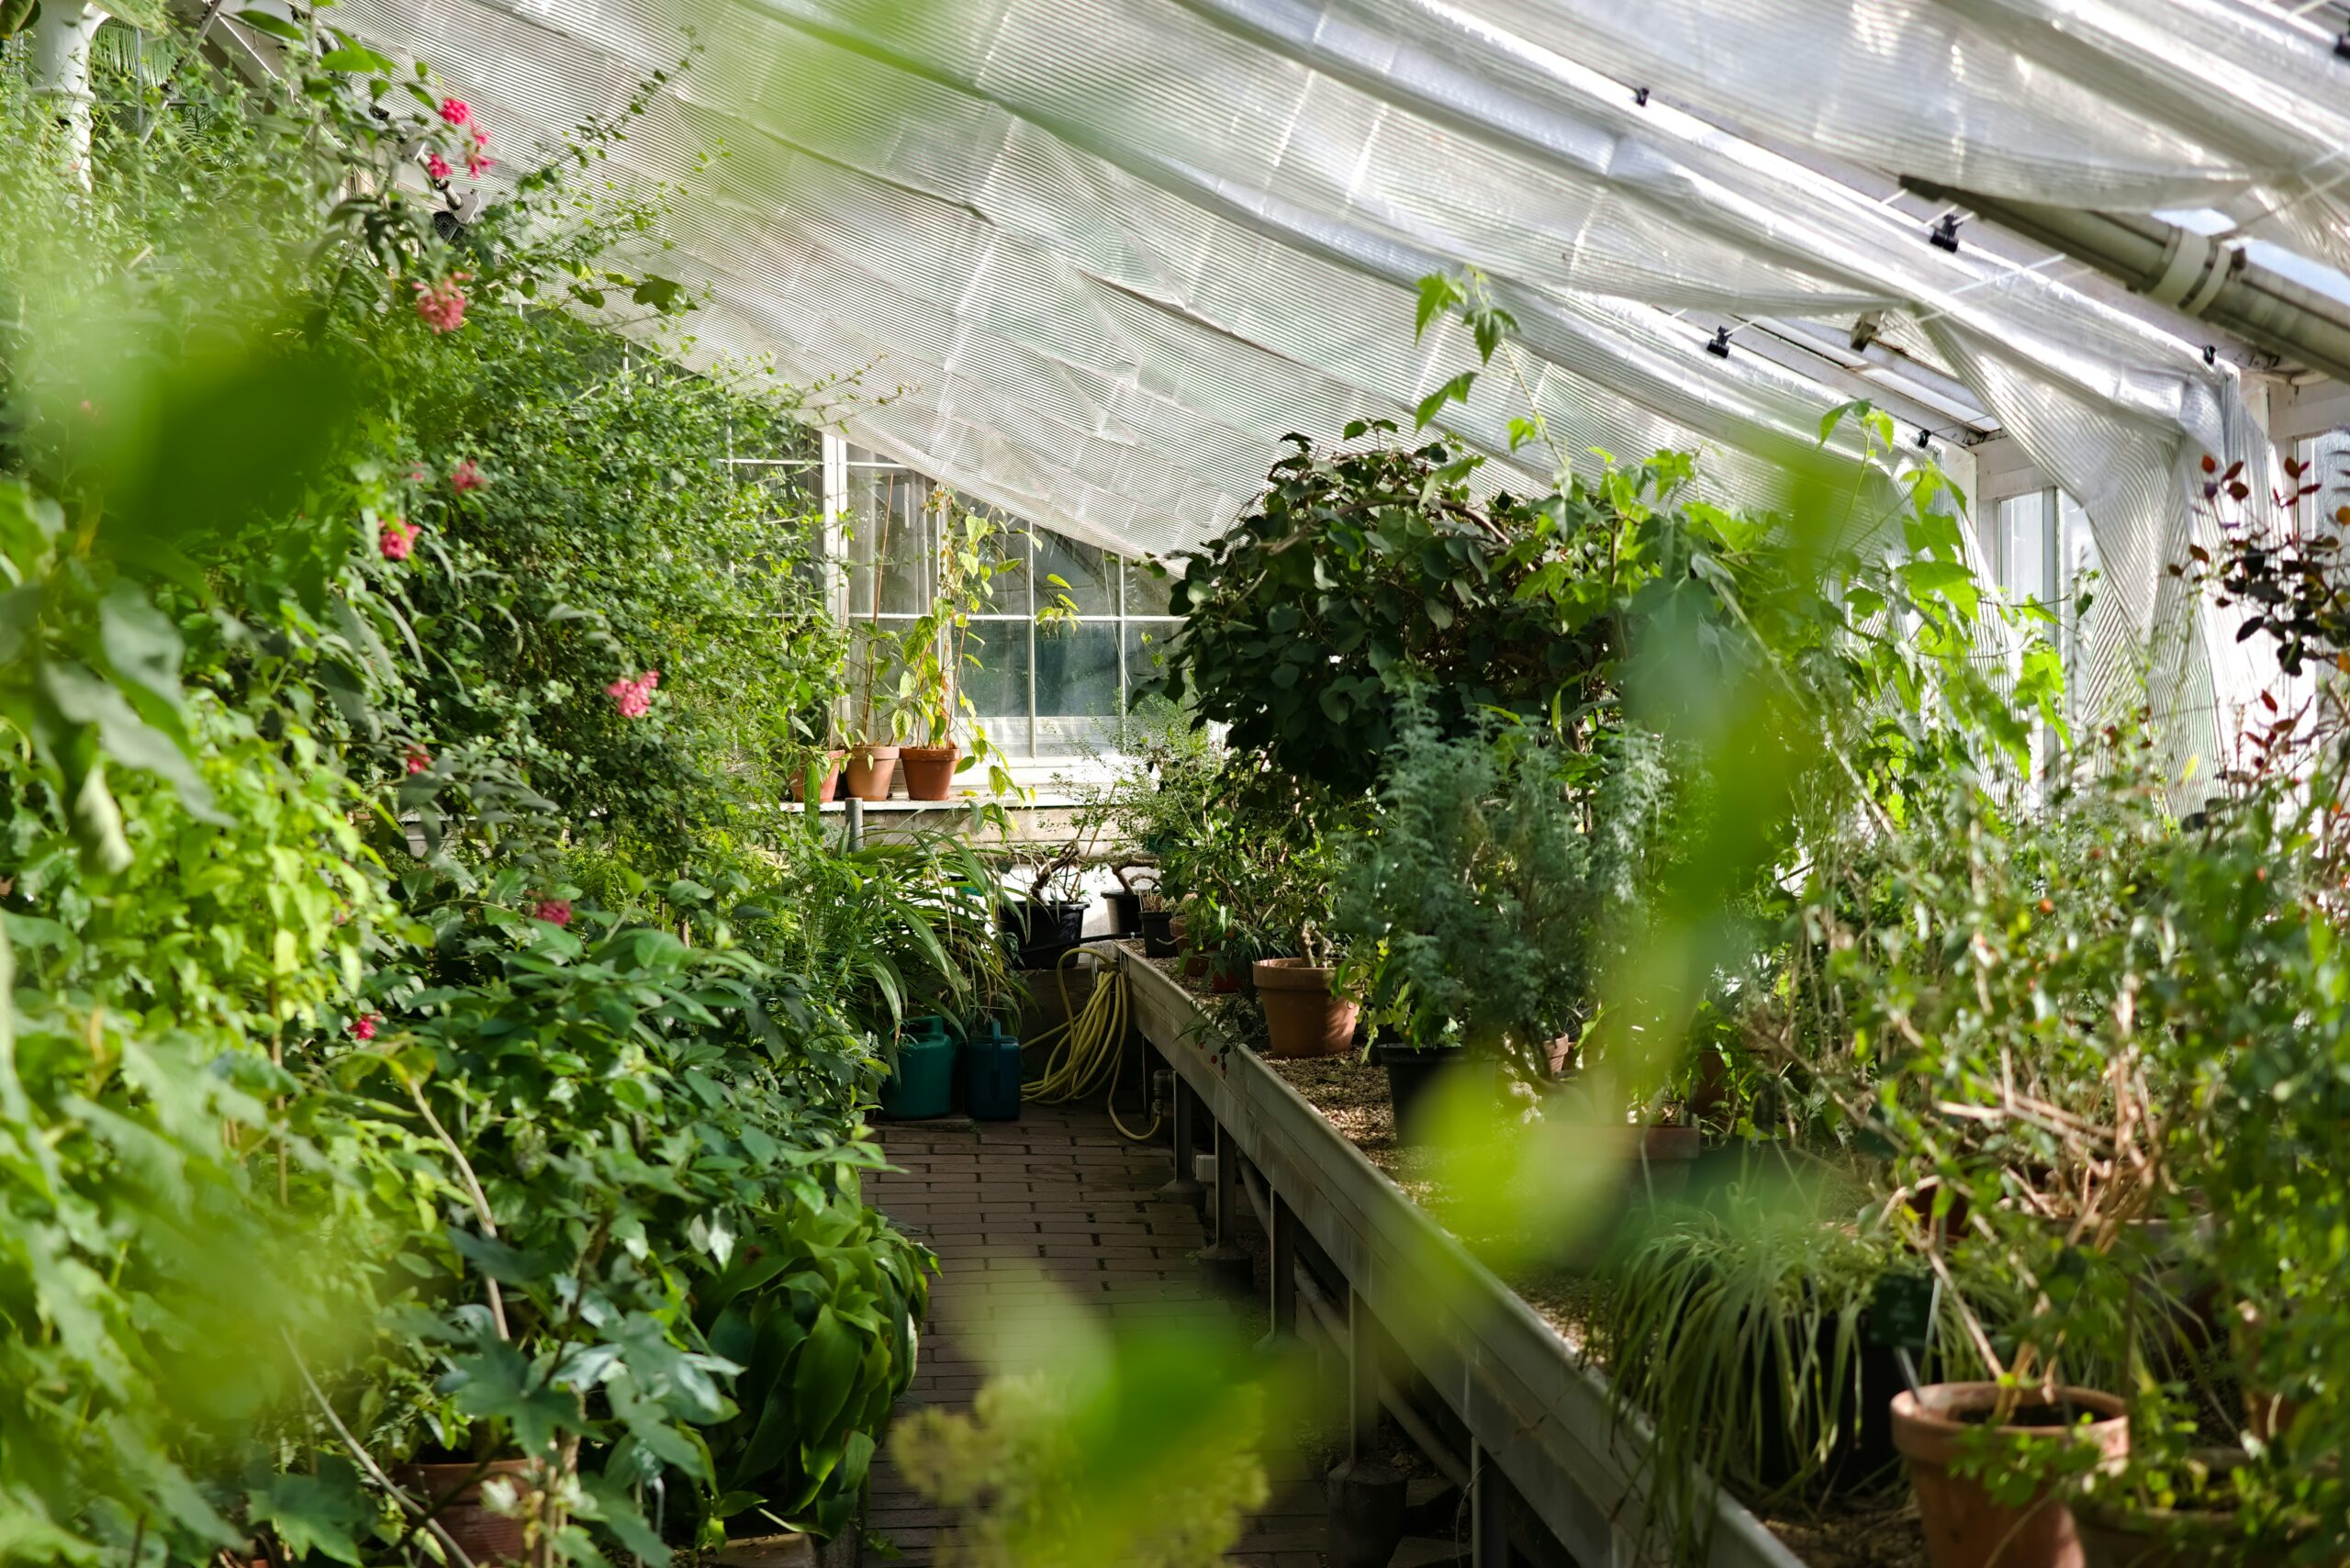
Project 2: Outdoor Hoop House Greenhouse
A hoop house is a traditional low-cost greenhouse design. It has a row of arching PVC pipes wrapped in plastic sheeting. The arch shape naturally sheds rain and snow, and the design can be readily scaled up or down from a modest raised bed cover to a large walk-in building.
This build makes a greenhouse that is around 11 feet wide, 15 feet long, and 7.5 feet tall, which is about 165 square feet of growing space. There is ample space for in-ground beds on both sides, shelves for seedlings that stand on their own, and a comfortable path along the middle.
Materials Needed
- 20-foot lengths of ½-inch or ¾-inch schedule 40 PVC pipe (6–8 pieces for the ribs).
- Lumber for the two end frames (2x4s work well).
- Wood screws.
- 6-mil clear plastic sheeting, non-UV-stabilized (from a lumberyard, often the cheapest option) or UV-stabilized greenhouse poly film for longer life.
- PVC pipe for ridge line and purlins (optional, but adds rigidity).
- Rebar stakes or ground anchors to secure the base.
Estimated cost: Under $100 when buying new materials; under $50 when sourcing secondhand lumber, pipe, and plastic. Schedule 40 PVC pipe typically runs $2–$3 per 10-foot section. Greenhouse plastic sheeting runs $30–$75 on Amazon, depending on thickness and UV rating.
Step-by-Step Instructions
Step 1: Choose a level for your site. Pick a location that gets at least 6 hours of direct sunlight. The ground should be as level as possible. This makes the end frames easier to install and keeps the structure square.
Step 2: Build the end frames. Construct two rectangular wooden frames out of 2×4 lumber. These frames define the width and height of your greenhouse and serve as the anchor points for the PVC hoops. Include a door opening in at least one end frame. A simple rectangular cutout with a wood frame is enough for a hinged or sliding door.
Step 3: Set the end frames. Position the two end frames 15 feet apart (or your desired length) and secure them in place. Use stakes, concrete footings, or screws into wooden ground plates, depending on whether this is a permanent or seasonal structure.
Step 4: Install the hoop ribs. Insert one end of a 20-foot PVC pipe into a ground anchor or bracket on one side of the greenhouse, then bend it over and insert the other end into the corresponding anchor on the opposite side. Repeat for each rib, spacing them 2–3 feet apart. The natural flexibility of PVC pipe creates the arch shape automatically.
Step 5: Connect the ribs. Run a horizontal ridge line of PVC pipe along the peak of the arches and tie or clamp each rib to it. Additional horizontal purlins along the sides add rigidity and give the plastic sheeting more contact points, which helps it hold shape in the wind.
Step 6: Cover with plastic. Drape your plastic sheeting over the frame, starting from one end. Pull it taut and secure it along the base using a batten board (a thin strip of wood screwed through the plastic into the end frame), or by burying the edge in a shallow trench and backfilling with soil. Secure the ends by cutting the plastic to match the shape of the end frames and attaching with staples or batten strips.
Step 7: Add ventilation. Even in winter, a closed greenhouse can overheat on sunny days. Include at least one vent, either a roll-up section along the sides or a window cut into an end panel with a flap that can be propped open.
Design Considerations
Width matters more than you think. Keeping the greenhouse between 10 and 12 feet wide produces steep enough sides that snow slides off rather than accumulating on top. A wider, flatter arch increases the risk of snow load collapse and reduces usable planting space along the edges.
Plastic type affects longevity. Standard construction-grade poly film (available at lumberyards) is the cheapest option and works well for one or two seasons. UV-stabilized greenhouse poly film costs more upfront but resists sun degradation and can last 4–6 years. For a permanent structure, it’s the better investment.
Raised beds inside the greenhouse dramatically improve growing conditions. Two beds, one along each side, allow year-round production of cold-tolerant crops like spinach, lettuce, kale, and chard. The soil in raised beds warms up faster in spring and holds heat longer into fall compared to open ground.
Material Sourcing: How to Actually Keep Costs Under $50
The materials list above can sound expensive if you price everything new. The real trick to hitting the $50 mark is sourcing smart:
- Freecycle and Facebook Marketplace regularly list PVC pipe, lumber scraps, and plastic sheeting for free or a few dollars.
- ReStore locations (Habitat for Humanity resale stores) often stock lumber, hardware, and occasionally greenhouse supplies at deep discounts.
- Lumberyards tend to stock construction-grade plastic sheeting at lower prices than home improvement big-box stores.
- End-of-season sales at garden centers often include discounted greenhouse plastic, shade cloth, and row cover materials in September and October.
Even buying everything new, the full material cost for either project rarely exceeds $150–$200, still a fraction of what you’d pay for a comparable kit greenhouse.
Frequently Asked Questions
How cold can a PVC greenhouse handle?
A well-sealed plastic greenhouse can keep interior temperatures 10–20°F warmer than outside, depending on the volume of space and how many plants are inside (plants release heat). For temperatures dropping below 20°F, adding a small electric space heater rated for greenhouse use or using row cover fabric inside as a second layer of insulation helps protect cold-sensitive plants.
Do I need to anchor a hoop house to the ground?
Yes always. Even light winds can lift an unsecured plastic-covered structure. Rebar stakes driven through the base frame, ground anchors, or a buried perimeter board all work well.
Can I use this to start seeds early in spring?
A hoop house is one of the most effective ways to start seeds 4–8 weeks earlier than your last frost date. Soil inside warms faster than outdoor ground, and you can harden off seedlings gradually by venting the greenhouse during warmer daytime hours.
What’s the difference between 4-mil and 6-mil plastic sheeting?
Mil refers to thickness. 6-mil is 50% thicker than 4-mil and provides better insulation and tear resistance. For an indoor shelf greenhouse, 4-mil is sufficient. For an outdoor hoop house, use 6-mil at minimum, or switch to UV-stabilized greenhouse poly film for longer life.
How long will PVC pipe last outdoors?
Standard white PVC pipe will degrade in UV light over several years, becoming brittle. For an outdoor structure you want to last more than a few seasons, use gray electrical conduit (which is UV-rated) or paint the PVC with a UV-blocking exterior paint.
Can I grow year-round in a PVC greenhouse without heating?
In USDA zones 7 and above, cold-hardy crops like spinach, kale, and mâche can survive unheated winters in a greenhouse. In colder zones, a small supplemental heat source is usually needed to maintain temperatures above freezing. A single 1,500-watt electric heater is typically enough for a small to medium hoop house.
Final Thoughts
The $50 greenhouse is real; you need to be a little creative. PVC pipe and plastic sheeting are inexpensive and flexible materials that you can use to create a small indoor space around a shelf to keep tropical bonsai alive during the winter, or a whole hoop house to produce vegetables for months longer.
Start with the basics. Make one panel, use it for a season, and then change it. Because PVC construction is modular, nothing is permanent. You may add length, height, or fix the door situation next year without having to start over. That’s the best part about creating your own: as you learn more about gardening, your greenhouse gets better and better.