If you’ve ever come home after a week abroad to discover your container garden looking more like a dried flower arrangement than a lush patio oasis, you know how hard it is. Pots dry out more quickly than you may think, and it can feel like a part-time job to keep up with them by hand. What’s the good news? There is a better way.
It appears complex to understand drip irrigation for containers unless someone explains it to you. Then you see that it’s easy, cheap, and one of the best choices you can make for your garden, which will save you time.
Why Container Plants Need Extra Attention?
Their roots are surrounded by air. Unlike an in-ground plant that can draw moisture from a wide area of soil, container plants depend entirely on what you give them. On a hot summer day, a terracotta pot in full sun can go from moist to bone-dry within hours.
This means containers need more frequent watering than garden beds, sometimes daily during peak summer. Hand watering is therapeutic in small doses, but once you’re managing a patio full of pots, it quickly becomes a chore that’s easy to skip, forget, or rush through unevenly.
The answer is getting water directly to the roots on a consistent schedule, without you having to think about it.
What Is Drip Irrigation for Pots?
Drip irrigation delivers water slowly and directly to the root zone through small emitters (also called drippers or shrubblers). Rather than watering broadly, which wastes water on pathways, walls, and foliage, drip systems target exactly where water is needed.
For container gardens, the setup is refreshingly simple: a main supply line runs from your tap, and smaller quarter-inch tubes branch off to each pot, ending in a small emitter that slowly releases water at the base of your plant.
Compared to sprinklers, which lose a significant amount of water to evaporation and runoff, drip irrigation is far more efficient. You end up with less waste, fewer weeds (because you’re not watering empty soil), and healthier plants that aren’t stressed by inconsistent moisture.
What You’ll Need?
Before you head to the hardware store, take stock of your setup. How many pots do you have? Where is your nearest tap? Are your containers clustered together or spread across a large area?
A basic container drip system includes:
- A tap timer: the brain of the whole operation. These range from simple single-zone models to more sophisticated programmable units. For most home gardeners with a patio or courtyard, a straightforward digital timer works perfectly.
- A pressure regulator and filter: Drip systems run at low pressure (typically around 12 PSI), so if your home water pressure is higher, a pressure regulator keeps the system from blowing out your fittings. The filter catches debris that could clog emitters.
- Main supply tubing (19mm): this runs from the tap along the back of your pot arrangement or around the perimeter of your space.
- Quarter-inch (4mm) flexible tubing: these smaller lines branch off the main line and run to each pot.
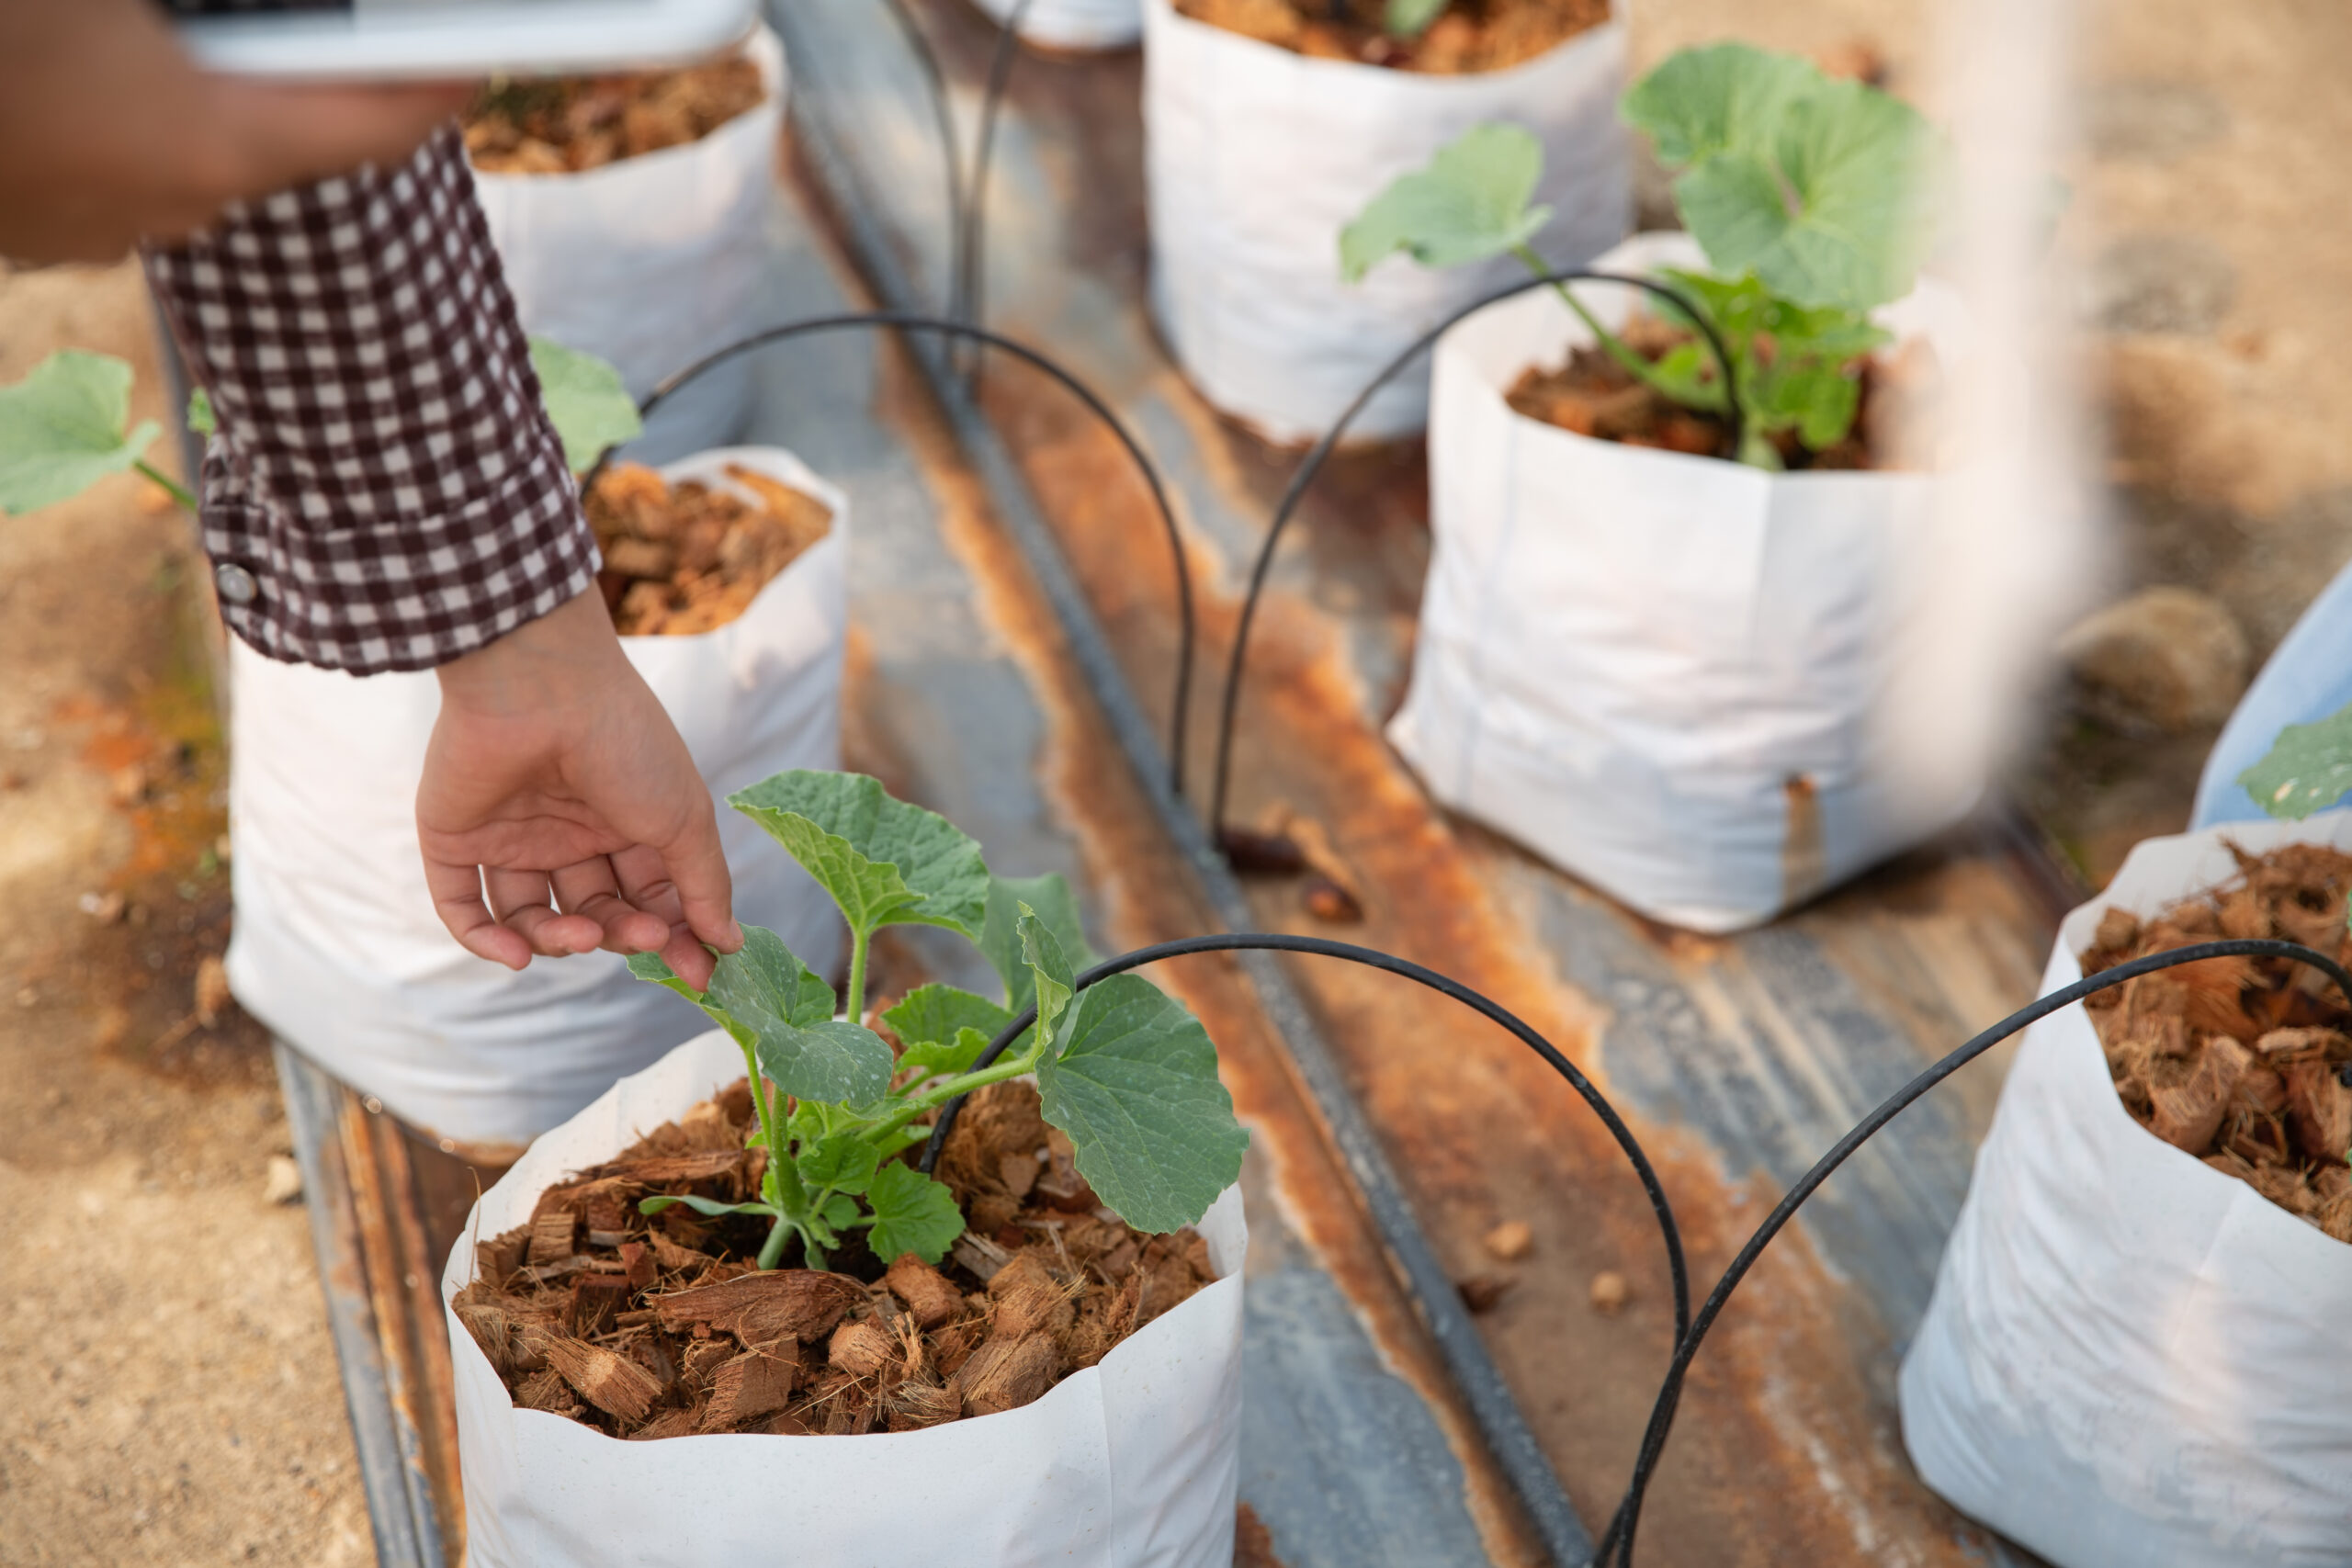
- Drip emitters (shrubblers or adjustable drippers): these sit in the pot and release water slowly. Emitters are typically color-coded by output: half a gallon per hour, one gallon per hour, or two gallons per hour, depending on your plants’ needs.
- Fittings: tees, elbows, and connectors to run lines around corners or split a single line into two.
- End caps: to seal the ends of your supply and drip lines.
- A tap adaptor (Y-splitter): useful if you want to keep one side of the tap free for a regular hose.
For a modest courtyard with around fifteen pots, a complete system including the timer can be assembled for well under $150. Many suppliers sell kits that include everything you need, which makes getting started even easier.
Setting It All Up: A Step-by-Step Walkthrough
Step 1: Start at the Tap
Attach your Y-splitter to the tap, then connect the timer to one outlet. This lets you keep the other side free for regular hose use. Fit the pressure regulator and filter next; these typically thread together and then connect to the start of your supply line.
Wrap all threaded connections with plumber’s tape before screwing them together to prevent leaks.
Step 2: Lay Out the Main Supply Line
Run your 19mm supply tubing behind or between your pots, along the wall, or around the edge of your patio, wherever you can keep it relatively tidy and out of direct foot traffic. The goal is to get it close enough to each pot that the short quarter-inch branch lines don’t have to travel too far.
If you need to go around corners or split the line in two directions, use elbows and tees. Cut the tubing with scissors or secateurs; it’s easy to work with.
Step 3: Branch Off to Each Pot
Using a hole punch, make a small hole in the main supply line wherever you want to branch off to a pot. Push a barbed connector into the hole, then attach a length of quarter-inch tubing. Run this smaller line to your pot, leaving a little slack (about 10–15cm) so the pot can be moved without pulling the fitting loose.
For larger pots or thirsty plants, use two emitters connected by a small tee. This ensures the whole root zone gets evenly moistened.
Step 4: Place the Emitters
Push the emitter into the quarter-inch tubing and position it in the pot so it sprays onto the surface of the potting mix, not directly onto the stem, and not hitting the sides of the pot. The goal is even coverage of the root zone.
If possible, tuck any exposed tubing out of direct sunlight. Prolonged UV exposure can soften the 4mm lines, causing connections to work loose under pressure. If sun exposure is unavoidable, scheduling the system to run in the early morning (before the heat of the day softens the plastic) is a practical workaround.
Step 5: Flush the System
Before capping anything off, open all your emitter valves, leave the end caps off the main line, and turn on the water. This flushes out any soil or debris that got into the lines during installation. Once the water runs clear, turn it off and attach all your end caps.
Step 6: Set the Timer and Fine-Tune
Turn the system on and watch how each pot receives water. Adjust individual emitters so smaller pots get less flow and larger pots get more. The aim is for a small amount of water to be draining from the bottom of each pot by the time the cycle ends. This confirms the mix is thoroughly moistened without being waterlogged.
Set the timer to match your plants and climate. Most container gardens do well with daily watering during summer, running for 30 minutes to an hour, depending on pot size and how quickly your mix drains. In cooler months, every two to three days is often sufficient.
Check pots manually for the first week or two to make sure each one is getting the right amount. It’s the best way to calibrate your system before you start trusting it completely.
Tips for Getting the Most Out of Your System
Water in the morning. Running your system early lets the soil absorb moisture before the heat of the day, reduces evaporation losses, and allows any water that splashes onto foliage to dry before evening. Wet leaves overnight encourage fungal problems.
Match emitter output to pot size. A small herb pot in a half-gallon pot doesn’t need the same emitter as a large fruiting shrub in a 40-litre container. Most systems use color-coded emitters to make this easy.
Use the finger test as a backup. Even with an automated system, a quick check is good practice, especially during heat waves. Poke your finger two inches into the potting mix. If it’s dry, your system needs a longer run time or more frequent cycles. If it’s still wet from the last cycle, dial it back.
Prep hydrophobic mix before starting. If your potting mix has dried out completely, it may actually repel water (a phenomenon called hydrophobicity). A soaker hose or hand watering to thoroughly re-wet the mix first ensures your drip emitters can then maintain even moisture from that point forward.
Group pots by water needs. Cluster thirsty plants like ferns and hydrangeas together, and keep drought-tolerant herbs and succulents in a separate zone. This lets you set emitter flow rates and timing to match what each group actually needs, rather than compromising for both.
Winterising is easy. There’s no need to rip out the whole system at the end of the season. Remove and store the filter and pressure regulator, then drain as much water from the lines as possible to prevent frost damage. Everything else can stay in place until spring.
Troubleshooting Common Problems
A line is squirting water into the air. This usually means the drip tape or tubing has developed a small hole. Locate the damage, cut out that section, and join the ends with a coupling connector. Because drip systems are modular, repairs are quick and cheap.
One pot is getting too much water, and others too little. This is a pressure distribution issue. Try partially closing the emitter on the pot getting too much, and opening up the ones receiving too little. A pressure regulator ensures baseline consistency, but individual emitters can still be fine-tuned.
Emitters keep clogging. This is usually a sign that your filter needs cleaning. Unscrew it, rinse out the mesh filter inside, and reinstall. This should be done a couple of times a season in areas with hard or sediment-heavy water.
The Case for Automating Your Container Garden
There’s a reason gardeners who set up drip irrigation almost universally say they regret waiting so long. Once it’s running, the system quietly does its job every morning while you get on with your day. You can travel without arranging plant-sitters, work through a busy week without worrying about your patio garden, and spend your actual garden time on the parts you enjoy harvesting, pruning, and watching things grow.
For containers in particular, the consistency of automated watering doesn’t just save time. It genuinely produces better plants. Stress from uneven watering, wet and dry cycles, is one of the most common causes of poor growth, blossom drop, and disease in container gardens. A reliable drip system takes that variable out of the equation entirely.
Summary
Setting up drip irrigation for your container garden is one of those rare projects where the effort you put in at the start pays back in time and peace of mind for years to come. Start small if you like, a single run of six or eight pots is a perfectly good way to get familiar with the system and expand from there as your confidence grows.
Chances are, like most gardeners who’ve made the switch, you’ll wonder why you didn’t do it sooner.